Why making so tiny amber pieces - with all the problems of holding them when polishing, trying not to lose them afterwards - instead of making a moderate size preparation, maybe even embedded in epoxy resin for safety?
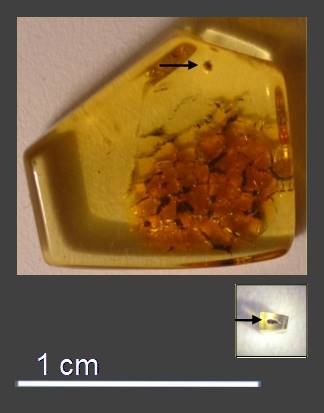
The answer is simple. If our task is to see the tiny inclusion inside an amber piece, then the image quality will highly depend on the thickness of material. Moreover, most of the microscopic objectives required to see the tiny structures, have rather short working distance, usually one millimeter or less. So, the finer the layer of amber between the inclusion and a microscope's lens and the finer the polishing is, the better image of the fossil is obtainable. The inclusion usually contains the tiniest details of a fossil, so we only need to find a way to see them. And, since we normally want to see the fossil from several sides, the ideal amber preparation would be a rectangular piece, only slightly larger than the inclusion itself.